
This article demonstrates how to set up eclipse for developing eXist. It shows you how to check out the source from the Subversion repository, how to compile eXist and how to setup the debug configuration.
Download and install Java 1.5 or 1.6
Download and install eclipse
Launch eclipse and add the Subclipse plug-ins

Install the subclipse plug-in for eclipse.
Select Help->Software Updates...
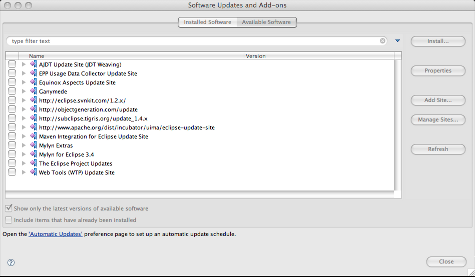
Click on Add Site...
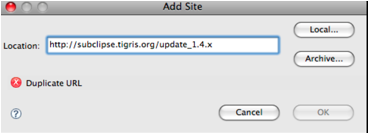
Enter: http://subclipse.tigris.org/update_1.4.x
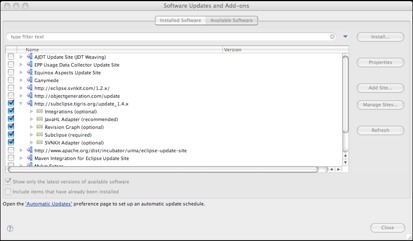
Select all of the entries under http://subclipse.tigris.org/update_1.4.x
Click on Install...
Open the SVN Repository Exploring perspective.
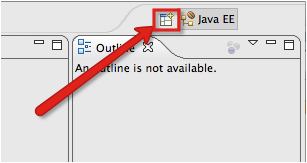
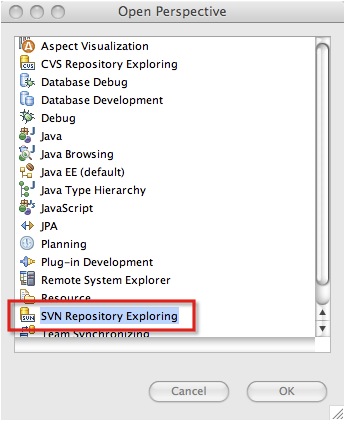
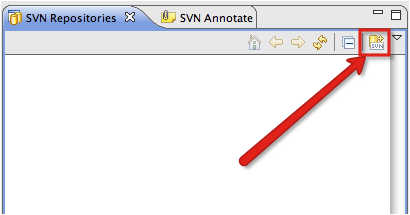
Select Add SVN Repository
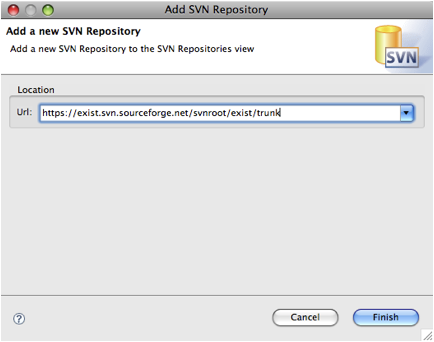
Enter https://exist.svn.sourceforge.net/svnroot/exist/trunk
Click on Finish
The repository will show up in the SVN Repositiries window.
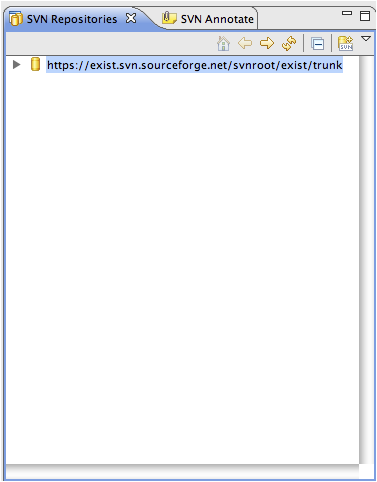
Expand the view of the repository.
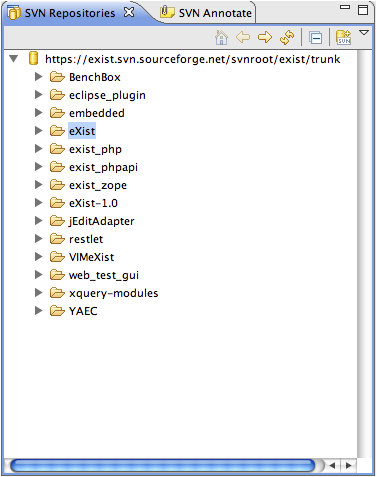
Right click on the eXist project and select Checkout....
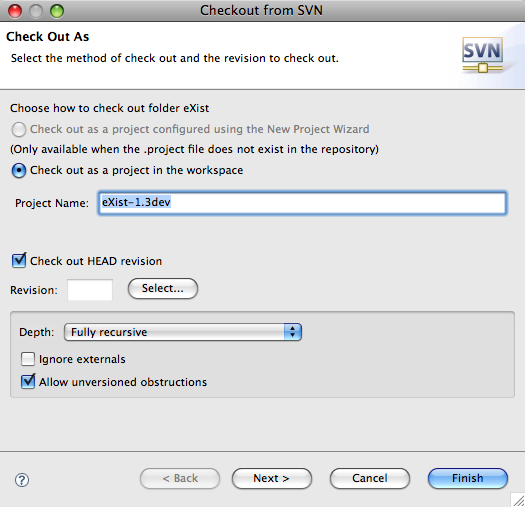
Click on Finish
Adding the activation.jar file to the build path. This is necessary in order to be able to run the eclipse debugger on the eXist codebase.
Right-click on the exist project and select Properties.
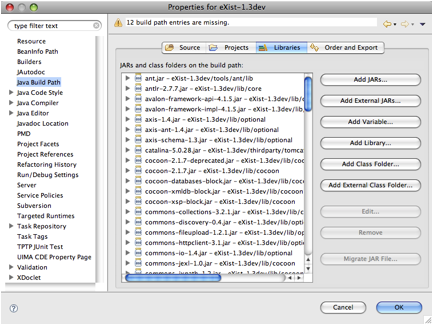
Select the Libraries tab.
Click on Add Jars...
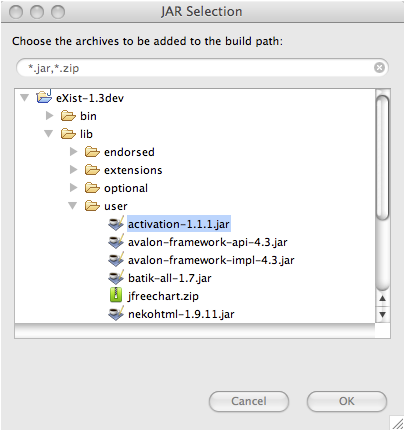
Select /lib/user/activation-1.1.1.jar
Click on OK.
Close eclipse.
Compiling exist from the command line within the exist-dev1.3 folder.
Copy extensions/build.properties to extensions/local.build.properties. In extensions/local.build.properties, change all of the entries from false to true:
Run:
./build.sh clean
./build.sh download-additional-jars
./build.sh
Restart eclipse.
Refresh the project.
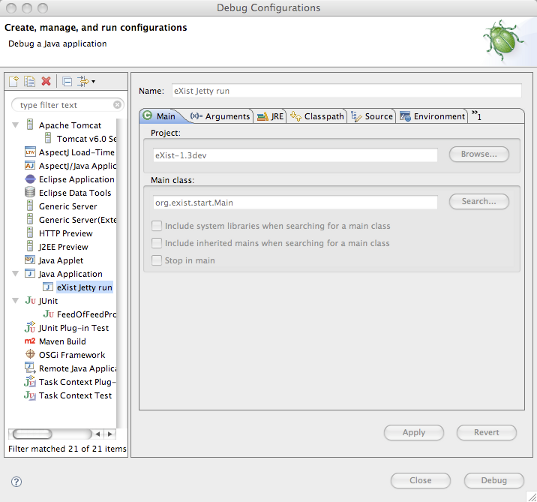
Select Java Application and click on New.
Title it eXist Jetty run.
Click on Browse... and select the eXist-1.3dev project.
Enter org.exist.start.Main as the Main class.
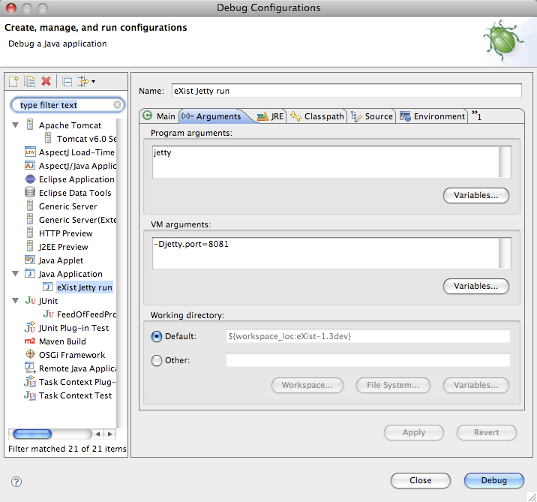
Select the Arguments tab.
Enter jetty in the Program arguments field.
If you wish to run Jetty on another port other than the default of 8080, then enter -Djetty.port={port number} in the VM arguments field.
| Entry | Description |
| jetty | Start eXist running within jetty |
| Entry | Description |
| -Djetty.port={port number} | Start jetty on a port number other than 8080 |
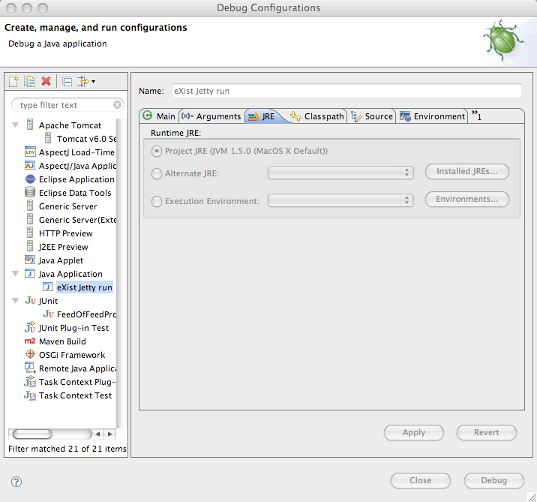
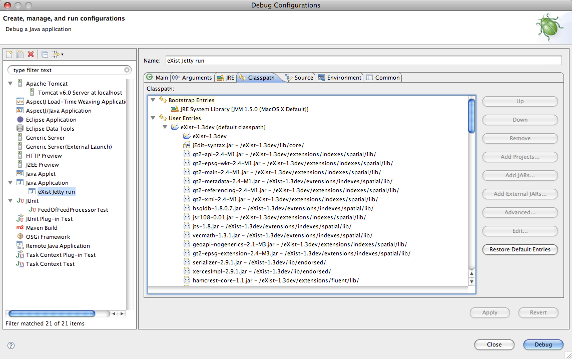
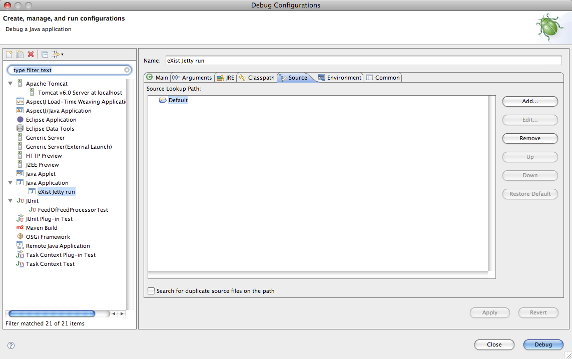
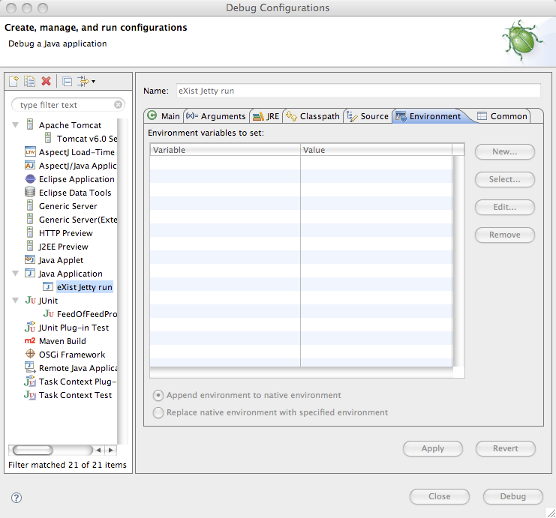
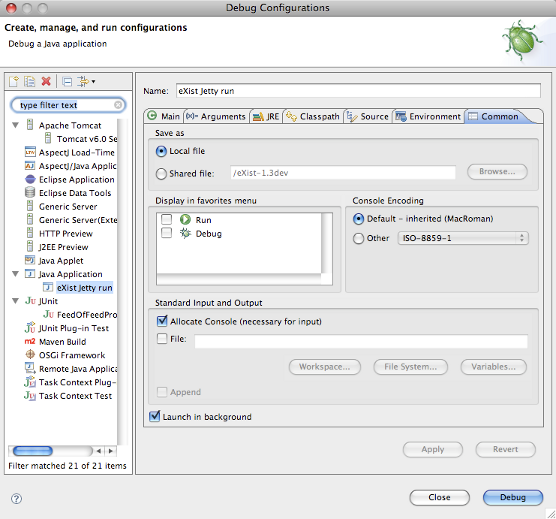
Your environment is now set up.